Yesterday, my dear friends were moving into their new apartment and I wanted to bring over a special treat. I was taking the train up to see them, so I needed it to be easy to transport. After my cousin sent me the link to Smitten Kitchen’s pea pesto, I spent a long time perusing her wonderful blog. If you haven’t read it before, check it out! I was especially intrigued by her post on homemade ricotta (or ricotta-inspired soft cheese). I decided to try it out and also make a version of the pea pesto.
When it comes to the cheese, it was remarkably easy! And the end result was delicious. I highly recommend it. Because I used Smitten Kitchen’s recipe verbatim, I’m just going to post my pictures. Check out her blog for the details. NB: The fresher the milk you can find, the better the cheese will end up.
 I used my Le Crueset because you should use a non-reactive pot. I was concerned about using non-stick so this was my best alternative. After heating the milk and cream to 190 degrees, I added the 3 tablespoons of lemon juice, let the cheese sit for 5 minutes and poured the whole shebang through cheesecloth.
 This is what it looked like when it first went into the cheese cloth. After this, all you do is wait! Let the cheese drain for about 2 hours. As it drains, it hardens and the curds become more visible. After 1 hour, you could already see a big difference:
 After an hour, the cheese has reduced a bit, though there is still a lot of whey mixed in with the curds. By the time it was done draining, it had reduced to about a cup and a half of curds. The lemon gave it a nice fresh, summery taste. After I go to the gym a few more times, I am definitely making this cheese again!
When I first saw the pea pesto recipe, I knew it was something I wanted to try. In our CSA share this week, we got another small bag of delicious looking peas. I shelled them and we had about 1/2 cup total. I knew this wouldn’t be enough to make the pea pesto as directed, but I knew I still wanted to include the peas.
 Perfect fresh peas!
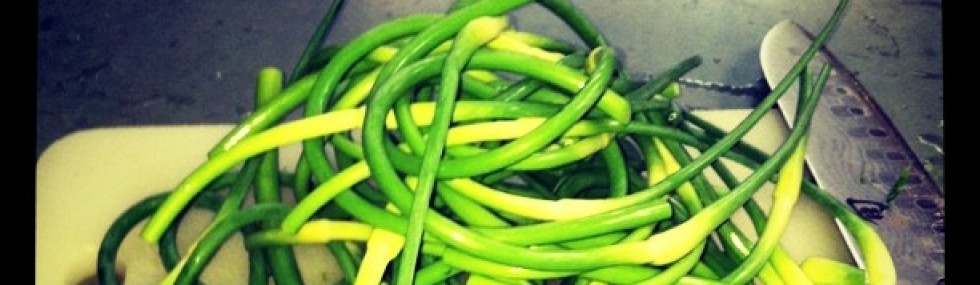
Because I didn’t have enough peas, I decided to fill out the pesto with garlic scapes and basil! I’d been wanting to make garlic scape pesto anyway, but, again, based on quantity (and my need to eat them right away) I haven’t been able to make it yet. I chopped the four garlic scapes into about 1 inch pieces, just using my kitchen shears, and tossed about a cup of basil into the food processor.

I blanched the peas for about 4 minutes while toasting pine nuts in a dry cast iron skillet.

Once everything was ready, I tossed 2 tablespoons of pine nuts, all the peas, 1/3 cup of olive oil, 1/2 teaspoon of salt, and about 1/4 cup of fresh grated Parmesan cheese into the food processor and blended until smooth.


The pesto became the most beautiful vivid green color and had a delightfully smooth texture. The peas lended a touch of summer and mellowness that is unusual for pesto. The garlic scapes added just a bit of bite and heat and the basil filled it out with a classic pesto finish. We served these on slices of baguette with the cheese spread first topped with the pesto. I ate probably two thirds of it and it was delicious (if I do say so myself)!
 Don’t you wish I brought this to your house? Luckily, you can make it for yourself! The pesto is also delicious tossed with pasta. Just reserve a bit of the cooking water to help it bond to the noodles and smooth out the texture.
~CM

Pingback: Where to Begin?? | The Seasonal Epicure
Pingback: A Few Favorites | Oh, She Dabbles